Pilates at Home Guide
How to Use a Pilates Ring
The magic circle is the cheapest piece of real pilates equipment, and the one most likely to be bought and then left in a cupboard. Here is what to do with it.
We earn a commission when you buy through links on this page, at no extra cost to you. It never decides a ranking: the method is published. How we are funded
The short answer
Put the ring between your knees or ankles, lie on your back, and squeeze it to about a third of your strength while you do any ordinary mat exercise. That is the use, and it works immediately. Everything else is a variation on where you put it.
The ring — properly a magic circle, and also sold as a fitness circle or pilates circle — is a padded hoop with two handles that flexes when you press it. It is used between the knees, between the ankles, between the palms, or pressed against a wall, and it adds resistance to movements you are already doing rather than creating new ones.
Resistance is not the point
This is the thing that makes the ring worth owning, and it is almost never explained on the packaging.
A pilates ring provides very little resistance in absolute terms. You are not going to build strength by squeezing a padded hoop. What it provides is feedback: something to press into so you can feel whether the muscle you are supposed to be using is actually doing the work.
In a bridge, for example, almost everyone lets their knees drift apart and takes the work into the outer hips. Put a ring between the knees and the drift becomes impossible, so the glutes and inner thighs have to do their share. Nothing about the exercise changed except that you can now tell what is happening. That is the entire value proposition, and it is why the ring sits so well next to the ball, which does the opposite job by removing stability instead of adding feedback.
It also means the squeeze should be moderate. Pressing as hard as you can turns the ring into a grip exercise and recruits everything in your body, which is the opposite of useful.
Eight placements
1. Between the knees, lying on your back. The default. Add it to bridges, pelvic tilts, dead bugs, hundreds. Squeeze gently and hold throughout.
2. Between the ankles, lying on your back. Moves the work further down the inner thigh and adds a light hamstring involvement. Harder than it sounds.
3. Between the knees, seated. Sitting upright on the floor or a chair, squeeze and release slowly. The inner thigh work with the core holding you up.
4. Between the palms, in front of the chest. Press inward. This is the chest and front shoulder placement, and the one where keeping the shoulders down takes real attention.
5. Overhead, between the palms. Same press, arms extended above. Shoulders and upper back, and a good check on whether you can raise your arms without shrugging.
6. Behind the back, between the palms. Harder to set up, excellent for the back of the shoulders. Press lightly here.
7. Against a wall, one hand. Stand side-on, ring between the wall and one palm, press. A single-arm chest and shoulder placement that needs no partner and no floor space.
8. Under one foot, standing. Ring on the floor, one foot on the upper pad, press down gently. A balance and standing-leg placement, and the hardest to control — do this one last.
In every placement the pads go against skin or clothing with the handles clear of your body, and you keep pressure on throughout the movement rather than pulsing it unless the exercise specifically asks for pulses.
Which placement does what
| Placement | Mainly works | Difficulty |
|---|---|---|
| Between knees, supine | Inner thighs, pelvic control | Easy |
| Between ankles, supine | Inner thighs, hamstrings | Moderate |
| Between knees, seated | Inner thighs with core | Easy |
| Between palms, chest height | Chest, front shoulders | Easy |
| Overhead, between palms | Shoulders, upper back | Moderate |
| Behind the back | Rear shoulders, posture | Moderate |
| Against a wall, one hand | One-sided chest and shoulder | Moderate |
| Under one foot, standing | Balance, standing leg | Hard |
The picks
Rings with the right amount of flex
Making mat work harder
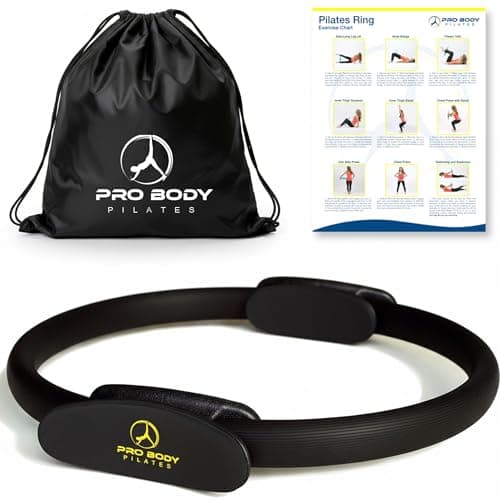
ProBody Pilates Ring (Magic Circle)
The classic magic circle: a sprung ring you squeeze between your knees or hands. It costs almost nothing and it makes ordinary mat exercises much harder.
$23.95Amazon#ad · Price as of November 3, 2026 · Affiliate disclosure for the link to ProBody Pilates Ring (Magic Circle)
A firmer, longer-lived ring
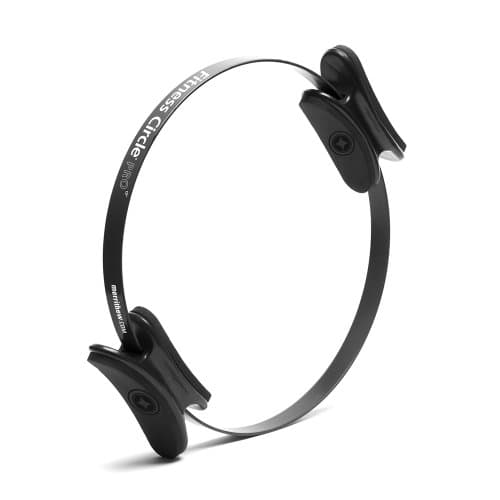
Merrithew Fitness Circle
The studio version: firmer spring, better-finished pads, and the resistance stays consistent for years. You are paying for the spring quality and not much else.
$80.00Amazon#ad · Price as of November 3, 2026 · Affiliate disclosure for the link to Merrithew Fitness Circle
The small-prop starter kit
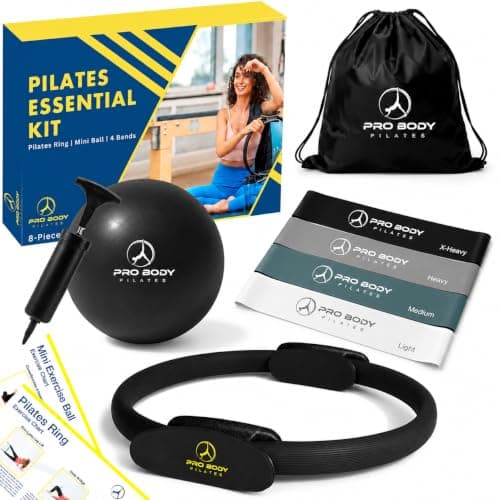
ProBody Pilates Ring, Ball and Band Kit
Ring, small ball, bands and a pump in one box. For someone starting mat pilates at home, this is most of the small-equipment list in one purchase.
$28.95Amazon#ad · Price as of November 3, 2026 · Affiliate disclosure for the link to ProBody Pilates Ring, Ball and Band Kit
Where people go wrong
- Squeezing as hard as possible. A third of your strength is plenty. Maximum effort turns a feedback tool into a grip test and recruits your whole body.
- Letting the handles dig in. If a handle is pressing into a knee or a palm edge, reposition the ring. Pads against skin, handles clear.
- Holding your breath. Very common with any squeeze. If you cannot talk, you are pressing too hard.
- Buying a ring that is too stiff. A ring you can barely flex gives no feedback at all, because nothing moves. Moderate flex is the useful property, which is why the rings on this site are chosen for it — see the ring roundup.
- Expecting it to replace a bar or a reformer. It will not. It is a feedback prop that costs very little, and the comparison with a proper resistance tool is in the bar and bands comparison.
If you are assembling a home kit and wondering where the ring fits, it is an early, inexpensive addition rather than a centerpiece — the kit order is here, and the beginner list puts it in context.
How we picked
Chosen on published criteria, and we say so
Most gear sites open by telling you how many hours they spent with the products. We have not used most of these, and we would rather say so than imply otherwise. Every pick here is chosen against criteria we publish — grip, cushioning, size options, what buyers report after a year of use, and whether the thing is still actually sold — and every manufacturer figure on the page is labeled as the maker's claim.
Nobody pays for a place on this page, no product was supplied free in exchange for coverage, and a specification the maker does not publish is never guessed at. See the full criteria and weighting.
FAQ
Questions people ask
How do you use a pilates ring for beginners?
How hard should you squeeze a pilates ring?
What muscles does a pilates ring work?
Is a pilates ring worth buying?
Pilates ring or pilates ball first?
Related
Keep reading
Update log
What changed
- First published.
Receipts
Sources
- 1.Merrithew — Pilates equipment shop
- 2.ProBody Pilates — mini exercise balls
- 3.Pilates Collective Club — Best Pilates Ball
- 4.Balanced Body — Pilates equipment
- 5.NCCIH (US National Institutes of Health) — Yoga: What You Need To Know
We have not used every product on this page, and we do not pretend otherwise. Thicknesses, materials, sizes and warranty terms are the manufacturer's published figures, shown as their claims. Anything about materials, skin or injury is linked to a source. Prices are set by Amazon and change constantly, so we never type one into the text — every figure comes from Amazon's own data, dated, and disappears rather than going stale. Read the full method.