Blocks, Straps & Props Guide
How to Use Yoga Blocks
A block has three heights and about eight jobs. Learn those and it stops being an object you own and starts being a prop you use.
We earn a commission when you buy through links on this page, at no extra cost to you. It never decides a ranking: the method is published. How we are funded
The three heights
A standard block is 9 by 6 by 4 inches, and that is not an arbitrary shape. Rested on its widest face it is 4 inches tall, on its side 6, on its end 9. When an instruction says "block at its highest" it means the third one, and knowing which is which makes verbal cues in a video class far easier to follow.
The rule of thumb: start at the tallest height and work down as you get more range. Beginners very often use a block that is too low, get no benefit, and conclude that props do not help them.
Eight placements
1. Under both hands in a standing forward fold
Highest setting. Brings the floor up so you can hinge from the hip with a long spine rather than rounding to reach. This is the single most useful block placement there is.
2. Under the lower hand in triangle
Any height that lets your chest stay open. Reaching all the way to the floor collapses the top shoulder forward, which is the opposite of what the pose is for.
3. Under the sitting bones in a seated fold
Lowest setting, sat right on the front edge. Tilts the pelvis forward so the fold comes from the hip rather than the lower back. Transformative for anyone with tight hamstrings.
4. Between the thighs in bridge
Lowest setting, squeezed gently. Stops the knees splaying and gives the inner thighs something to do, which changes the pose completely.
5. Under the sacrum in supported bridge
Lowest or middle. A restorative position you can hold for minutes rather than breaths. A bolster does this more comfortably — see bolsters.
6. Under the hand in half moon
Middle or highest, placed forward of your standing foot. This is the placement that needs cork rather than foam, because your weight goes through it — see cork versus foam.
7. Under the head in reclining poses
Lowest, with something soft over it. Supports the neck in supine twists and reclining butterfly if your head does not comfortably reach the floor.
8. Between the hands overhead
Any height, pressed lightly. A shoulder cue rather than a support: holding a block stops the arms splaying and teaches the shoulder position you are aiming for.
Two common mistakes
Using a block that is too low. Almost everyone does this at first, because reaching further feels like progress. It is not — a block at the wrong height gives you the rounded spine you were trying to avoid, with an extra object involved. Start high.
Treating the block as remedial. Blocks are not training wheels. They let you do the actual pose at the body you currently have, and experienced practitioners use them constantly. If you have spent six months rounding your back to reach the floor because a block felt like cheating, the block was the right answer the whole time — the case for that is here.
The picks
What to buy for these placements
 Stock photo
A first block
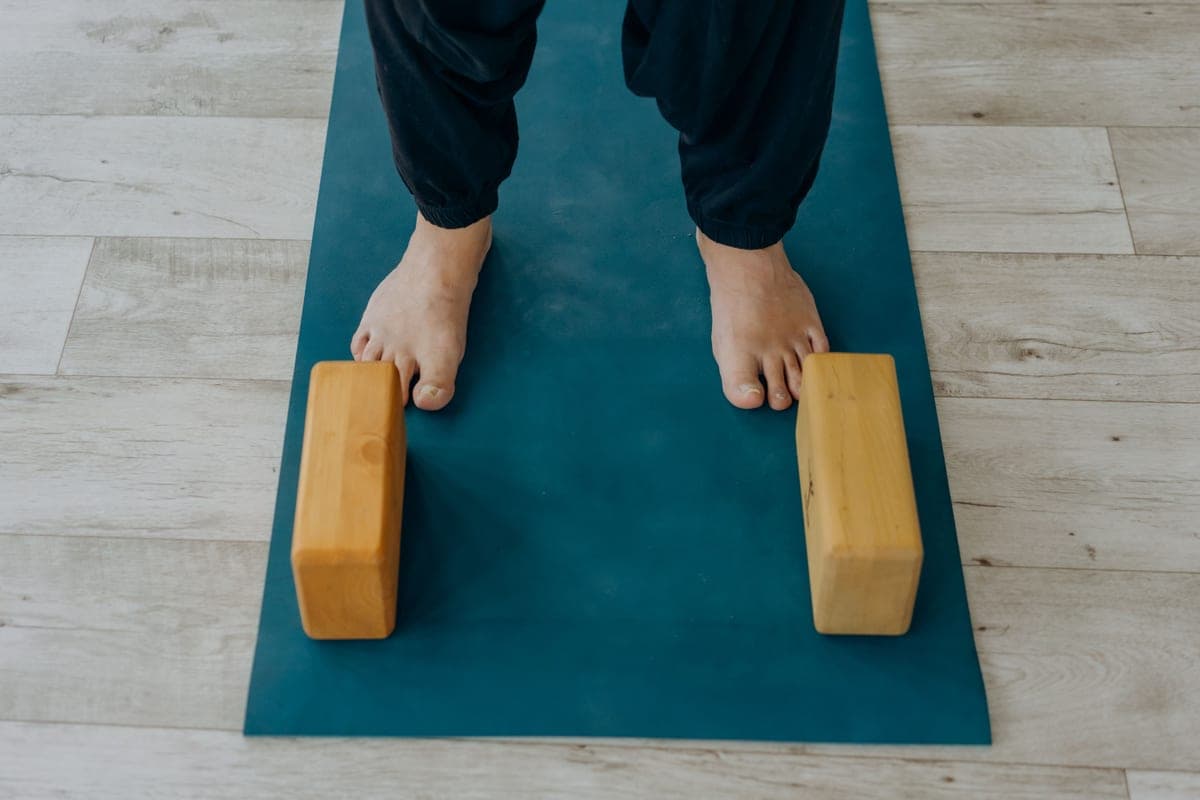
Gaiam Yoga Essentials Foam Block
The standard foam block. Light, cheap, soft enough to rest against, and it will compress under your standing weight. For most beginners that is fine.
Check price on Amazon#ad · Price set by Amazon · Affiliate disclosure for the link to Gaiam Yoga Essentials Foam Block
 Stock photo
Blocks you stand on
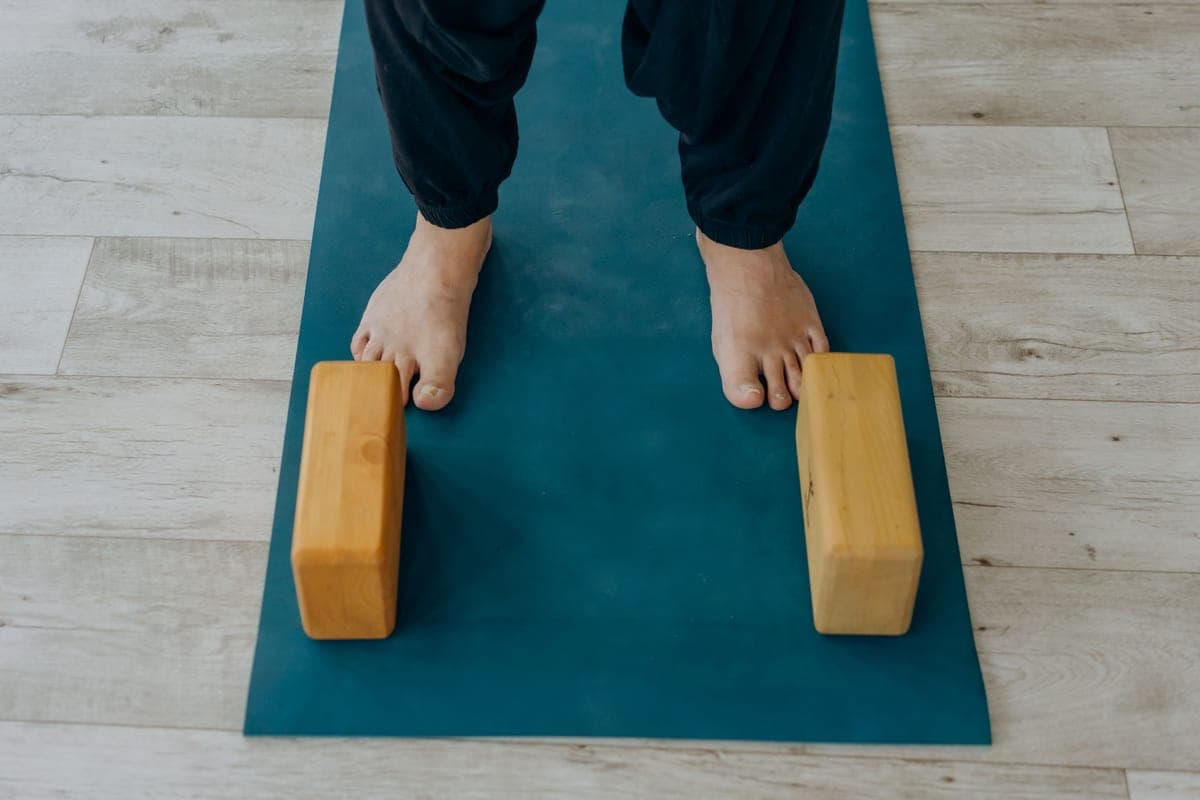
Manduka Cork Yoga Block
Heavy, grippy and it does not move when you put weight on it. That stability is the whole argument for cork over foam, and it is a good argument.
Check price on Amazon#ad · Price set by Amazon · Affiliate disclosure for the link to Manduka Cork Yoga Block
 Stock photo
A first strap
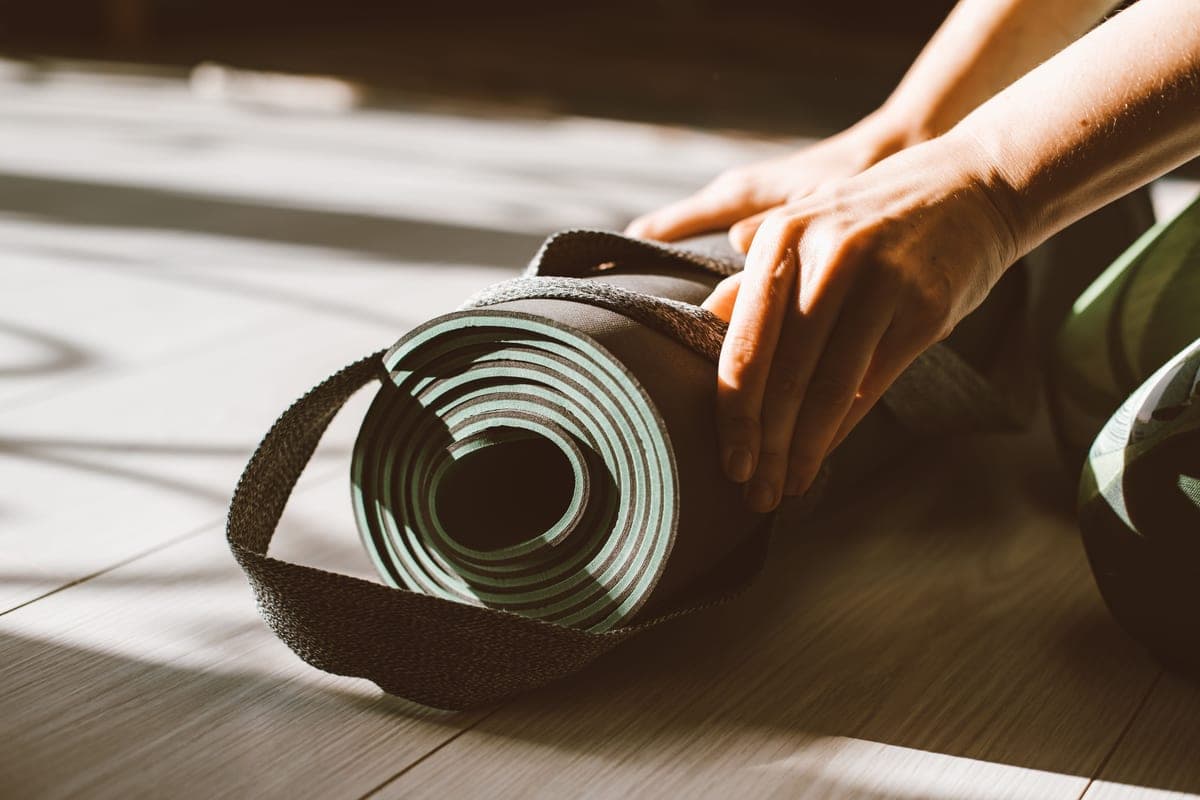
Trideer Yoga Strap
A cotton strap with a metal D-ring buckle, sold in three lengths. There is very little to get wrong here, and this one does not slip.
Check price on Amazon#ad · Price set by Amazon · Affiliate disclosure for the link to Trideer Yoga Strap
And the four things a strap does
Blocks and straps get bought together and only blocks ever get explained, so here is the other half. A strap does one thing — it makes your arms longer — and that turns out to cover four situations.
- Around the foot in a reclining hamstring stretch. Lie on your back, loop the strap around the arch of one foot and lift. You get the full stretch without hauling on the back of your leg with your hands, which is what makes most people bend the knee and lose the stretch entirely.
- Held wide behind the back, for the shoulders. Take both hands out along the strap and move your arms overhead and back. Widen the grip until it is possible, then narrow it over weeks. This is the clearest case of a prop giving you a progression you can actually measure.
- Hooked around the feet in a seated fold. Use it to draw yourself forward from the hip rather than curling from the spine. Combine it with sitting on a block and the pose changes completely.
- Buckled into a loop around the thighs. Above the knees in bridge or a supported reclining pose, it holds your legs parallel so you do not have to. A genuinely restful use, and the one nobody mentions.
A buckled strap does all four. A multi-loop strap does the first two better and the last two worse. The strap roundup covers that difference and, more importantly, the length — which is the thing bundled kits reliably get wrong.
How we picked
Chosen on published criteria, and we say so
Most gear sites open by telling you how many hours they spent with the products. We have not used most of these, and we would rather say so than imply otherwise. Every pick here is chosen against criteria we publish — grip, cushioning, size options, what buyers report after a year of use, and whether the thing is still actually sold — and every manufacturer figure on the page is labeled as the maker's claim.
Nobody pays for a place on this page, no product was supplied free in exchange for coverage, and a specification the maker does not publish is never guessed at. See the full criteria and weighting.
FAQ
Questions people ask
How do you use a yoga block for beginners?
Which height of yoga block should I use?
Can you sit on a yoga block?
Do I need one block or two?
Related
Keep reading
Update log
What changed
- First published.
Receipts
Sources
- 1.Yoga Journal — The Best Yoga Blocks
- 2.OutdoorGearLab — The Best Yoga Blocks
- 3.NCCIH (US National Institutes of Health) — Yoga: What You Need To Know
- 4.Hugger Mugger — product information
We have not used every product on this page, and we do not pretend otherwise. Thicknesses, materials, sizes and warranty terms are the manufacturer's published figures, shown as their claims. Anything about materials, skin or injury is linked to a source. Prices are set by Amazon and change constantly, so we never print one. Read the full method.